Getting started with Ember App KitPublished on Mar 7, 2014
In the following tutorial we’ll create a simple Ember.js app for logging your water intake. Besides learning the basics of Ember.js, you will also learn how to use Ember App Kit.
You can see the final application right below:
About Ember App Kit
EAK is the basic building block of your app. It helps you to rapidly start the development with features such as the ES6 module transpiler, automatic reloading, the Grunt task runner, the Bower package manager…
EAK uses ECMAScript 6 Modules, which means you can keep your namespace clean and only import objects you need to the current scope. Thanks to es6-module-transpiler you can use the current ES6 module syntax and it will be automatically compiled into today’s JavaScript.
Creating a project
Create your project by cloning EAK
➤ git clone [email protected]:stefanpenner/ember-app-kit.git waterize
➤ cd waterize
Optionally you can get rid of the Git history and start fresh
➤ rm -rf .git
➤ git init
Install required node binaries
This only needs to be done once. Install Grunt, Bower and Loom (if you want to use generate command to easily generate controllers/models etc.).
➤ npm install -g grunt-cli bower loom
Starting a development server
Install the required node packages and start the server
➤ npm install
➤ grunt server
Finally open our project in the web browser (port defaults to 8000).
open http://localhost:8000
Generating basic routes and controllers
We’ll use day controller for storing our water intake per that day. Now let’s generate an object controller with Loom
In Ember.js, controllers allow you to decorate your models with display logic. In general, your models will have properties that are saved to the server, while controllers will have properties that your app does not need to save to the server.
➤ generate controller day

Select o since we want an object controller, then generate a route for the controller
When your application starts, the router is responsible for displaying templates, loading data, and otherwise setting up application state. It does so by matching the current URL to the routes that you’ve defined.
➤ generate route day
generating from:
  - node_modules/loom-generators-ember-appkit/loom
   created:     app/routes/day.js
Change app/templates/application.hbs to
<h2 id='title'>Waterize</h2>

{{outlet}}
Edit app/router.js and the following at the top of the route list
// We'll catch / and redirect user to current day
this.route("index", { path: "/"} );
// Catch /#2014-03-03
this.resource("day", { path: "/:formatted" });
Edit app/routes/index.js, remove model and add
beforeModel: function() {
  this.transitionTo("day", "2033-12-21");
}
Inside DayRoute in the app/routes/day.js add snippet
model: function(params) {
  return Ember.Object.create();
}
Now generate our main template showing the bottle.
➤ generate template day
generating from:
  - node_modules/loom-generators-ember-appkit/loom
   created:     app/templates/day.hbs
Bottle component
Generate a bottle component holding a bottle SVG dynamic image & percentage logic.
➤ generate component bottle-image
    generating from:
      - node_modules/loom-generators-ember-appkit/loom
       created:     app/components/bottle-image.js
       created:     app/templates/components/bottle-image.hbs
       created:     tests/unit/components/bottle-image-tests.js
Remove test for the component, since we won’t be using it now.
➤ rm tests/unit/components/bottle-image-tests.js
Edit app/templates/components/bottle-image.hbs and replace everything with SVG of a bottle. It’s simple path of the bottle, with the same clip path and a blue rectangle that represents the water level.
<svg width="169px" height="441px" viewBox="0 0 169 441" version="1.1" xmlns="http://www.w3.org/2000/svg" xmlns:xlink="http://www.w3.org/1999/xlink">
    <title>bottle</title>
    <g id="Page-1" stroke="none" stroke-width="0" fill="none" fill-rule="evenodd">
      <clipPath id="ClipBottle">
        <path d="M114.611325,50.6484375 L48.5449223,50.6484375 L48.5449223,70.0136719 C48.5449223,70.0136719 22.787939,81.0417179 15.7187505,87.0292969 C8.15080179,93.4393231 4.63351106,107.20649 4.63351106,107.20649 L4.63351106,403.066413 C4.63351106,403.066413 17.3756986,431.116187 81.3929257,431.116211 C145.410153,431.116241 158.15234,403.066406 158.15234,403.066406 L158.15234,107.20649 C158.15234,107.20649 153.633342,93.2511626 145.410153,87.0292969 C137.247926,80.8535568 114.611325,70.0136719 114.611325,70.0136719 L114.611325,50.6484375 Z M114.611325,50.6484375" stroke="#1EB5E8" stroke-width="8"></path>
      </clipPath>

      <rect d="M10,206 L10,432 L161,432 L161,206 L10,206 Z M10,206" id="Water" stroke="#979797" fill="#1EB5E8" x="8" {{bind-attr y="y"}} width="151" {{bind-attr height="height"}} clip-path="url(#ClipBottle)"></rect>
      <path d="M114.611325,50.6484375 L48.5449223,50.6484375 L48.5449223,70.0136719 C48.5449223,70.0136719 22.787939,81.0417179 15.7187505,87.0292969 C8.15080179,93.4393231 4.63351106,107.20649 4.63351106,107.20649 L4.63351106,403.066413 C4.63351106,403.066413 17.3756986,431.116187 81.3929257,431.116211 C145.410153,431.116241 158.15234,403.066406 158.15234,403.066406 L158.15234,107.20649 C158.15234,107.20649 153.633342,93.2511626 145.410153,87.0292969 C137.247926,80.8535568 114.611325,70.0136719 114.611325,70.0136719 L114.611325,50.6484375 Z M114.611325,50.6484375" id="Bottle" stroke="#1EB5E8" stroke-width="8"></path>
      <rect d="M47.99606,0 C43.579958,0 40,3.58204887 40,7.99357759 L40,36.0064224 C40,40.4211534 43.5797154,44 47.99606,44 L115.00394,44 C119.420042,44 123,40.4179511 123,36.0064224 L123,7.99357759 C123,3.57884659 119.420285,0 115.00394,0 L47.99606,0 Z M47.99606,0" id="Cap" fill="#1EB5E8" x="40" y="0" width="83" height="44" rx="8"></rect>

      <text fill="#000000" font-family="Arial" font-size="32" font-weight="bold" letter-spacing="0">
        <tspan x="43" y="233">{{percent}} %</tspan>
      </text>
    </g>
</svg>
Edit app/components/bottle-image.js and add code for handling percentage, water levels.
var BottleImageComponent = Ember.Component.extend({
  goal: 2000, // in ml

  percent: function() {
    return Math.floor(this.get("drunk") / this.get("goal") * 100); // Calculate percentage of a goal (can be 100%+)
  }.property("drunk"),

  y: function() {
    return 430 - this.get("height"); // Offset of the rectangle
  }.property("height"),

  height: function() {
    return 3.75 * this.get("percent"); // Height of the rectangle
  }.property("percent")
});

export default BottleImageComponent;
Edit app/templates/day.hbs and replace everything with a bottle component, we’ll use a fixed drunk value for now.
{{bottle-image drunk=500}}
A model is a class that defines the properties and behavior of the data that you present to the user. Anything that the user expects to see if they leave your app and come back later (or if they refresh the page) should be represented by a model.
Create app/models/day.js and fill it with basic model that will save our stats
var Day = Ember.Object.extend({
  drunk: function() {
    return 0;
  }.property(),

  save: function() {
    // Implement me
  }
});

Day.reopenClass({
  query: function(conditions) {
    return Day.create();
  }
});

export default Day;
Adding model to the equation
We can now use our model in our routes, so edit app/routes/day.js and at the top add
import Day from "appkit/models/day"; // ES6 import, you need to import model, so it's accessible inside your route
to import our model and replace
return Ember.Object.create();
with
return Day.query({formatted: null});
Edit app/templates/day.hbs and replace fixed number 500 to drunk so our day.hbs will look like this now
{{bottle-image drunk=drunk}}
Drinking a cup!
Now edit app/controllers/day.js so it looks like this chunk of code
var DayController = Ember.ObjectController.extend({
  cups: [
    { ml: 250, name: "250 ml / 8.45 oz" },
    { ml: 500, name: "500 ml / 16.9 oz" }
  ],

  selectedCup: 250,

  actions: {
    drinkCup: function() {
      var model = this.get("model");
      var ml = this.get("selectedCup");
      model.incrementProperty("drunk", ml);
      model.save();
    },

    emptyBottle: function() {
      var model = this.get("model");
      model.set("drunk", 0);
      model.save();
    }
  }
});

export default DayController;
Now we’ll add some HTML controls. Edit app/templates/day.hbs and under the component add
{{view Ember.Select
       content=cups
       optionValuePath="content.ml"
       optionLabelPath="content.name"
       value=selectedCup
}}

<button {{action 'drinkCup'}}>Drink!</button>
<button {{action 'emptyBottle'}}>X</button>
Making our data persistent
To easily persist our data, we’ll use localStorage with a hash of date and ml drunk as keys. When it comes to time handling, the easiest way is to use Moment.js. Let’s install it with Bower
➤ bower install moment --save
bower cached        git://github.com/moment/moment.git#2.5.1
bower validate      2.5.1 against git://github.com/moment/moment.git#*
bower install       moment#2.5.1
moment#2.5.1 vendor/moment
Now we have MomentJS under vendor/moment, let’s include it on our HTML page.
Edit app/index.html and under jquery.js add line
<script src="/vendor/moment/moment.js"></script>
Now it’s time to implement the persistence part in app/models/day.js. We’ll replace everything with our model implementation
var Day = Ember.Object.extend({
  // Returns instance of moment for the given timestamp
  moment: function() {
    return window.moment(this.get("timestamp"));
  }.property("timestamp"),

  // Return formatted date
  formatted: function() {
    return this.get("moment").format("YYYY-MM-DD");
  }.property("moment"),

  // We'll use this as a key for the storage
  storageKey: function() {
    return "%@|%@".fmt(Day.namespace, this.get("formatted"));
  }.property("formatted"),

  // ml drunk
  drunk: function() {
    var drunk = window.localStorage[this.get("storageKey")];
    drunk = parseInt(drunk || 0, 10);

    return drunk;
  }.property("storageKey"),

  // Write value into localStorage
  save: function() {
    window.localStorage[this.get("storageKey")] = this.get("drunk");
  }
});

Day.reopenClass({
  namespace: "waterize", // Namespace in the localStorage

  // Query by timestamp
  query: function(conditions) {
    var timestamp = window.moment(conditions.formatted).startOf("day").valueOf();

    return Day.create({ timestamp: timestamp });
  },

  today: function() {
    return Day.query({ formatted: window.moment() });
  }
});

export default Day;
Wire those model changes up into the routes
Edit app/routes/index.js and at the top of route add
import Day from "appkit/models/day";
and change transitionTo to
this.transitionTo("day", Day.today());
so when we’re on the / page, it will redirect us to the current day.
Then edit app/routes/day.js and change that query part to
return Day.query({formatted: params.formatted});
this will return the day based on the url params.
Now visit http://localhost:8000 and it should redirect you to the current day, perfect! If you change the date, the bottle percentage should automatically update.
Switching between the days
We’ll need to add 2 more instance methods into our model app/models/day.js
  // Return next day
  tomorrow: function() {
    var tommorow = this.get("moment").clone().add(1, "day");

    if(window.moment().isAfter(tommorow)) {
      return Day.create({ timestamp: tommorow.valueOf() });
    }
  }.property("moment"),

  // Return previous day
  yesterday: function() {
    return Day.create({ timestamp: this.get("moment").clone().subtract(1, "day").valueOf() });
  }.property("moment")
so our app/models/day.js looks like this
var Day = Ember.Object.extend({
  // Returns instance of moment for the given timestamp
  moment: function() {
    return window.moment(this.get("timestamp"));
  }.property("timestamp"),

  // Return formatted date
  formatted: function() {
    return this.get("moment").format("YYYY-MM-DD");
  }.property("moment"),

  // We'll use this as a key for the storage
  storageKey: function() {
    return "%@|%@".fmt(Day.namespace, this.get("formatted"));
  }.property("formatted"),

  // ml drunk
  drunk: function() {
    var drunk = window.localStorage[this.get("storageKey")];
    drunk = parseInt(drunk || 0, 10);

    return drunk;
  }.property("storageKey"),

  // Return next day
  tomorrow: function() {
    var tommorow = this.get("moment").clone().add(1, "day");

    if(window.moment().isAfter(tommorow)) {
      return Day.create({ timestamp: tommorow.valueOf() });
    }
  }.property("moment"),

  // Return previous day
  yesterday: function() {
    return Day.create({ timestamp: this.get("moment").clone().subtract(1, "day").valueOf() });
  }.property("moment"),

  // Write value into localStorage
  save: function() {
    window.localStorage[this.get("storageKey")] = this.get("drunk");
  }
});

Day.reopenClass({
  namespace: "waterize", // Namespace in the localStorage

  // Query by timestamp
  query: function(conditions) {
    var timestamp = window.moment(conditions.formatted).startOf("day").valueOf();

    return Day.create({ timestamp: timestamp });
  },

  today: function() {
    return Day.query({ formatted: window.moment() });
  }
});

export default Day;
Now we need some links to take us to previous/next days, so let’s edit app/templates/day.hbs and at the top add
<p>{{#link-to 'index' classNames="today"}}Today{{/link-to}}</p>
<p>
{{#link-to 'day' yesterday}}«{{/link-to}}
Date: {{formatted}}
{{#if tomorrow}}
{{#link-to 'day' tomorrow}}»{{/link-to}}
{{/if}}
</p>
Testing
Let’s add only very simple acceptance test
Remove route test, because we’ve changed that route a little and it would raise an test error.
➤ rm tests/unit/routes/index-test.js
Now edit tests/acceptance/index-test.js and change that test part so it looks like this chunk of code
var App;

module('Acceptances - Index', {
  setup: function(){
    App = startApp();
  },
  teardown: function() {
    Ember.run(App, 'destroy');
  }
});

test('index renders', function(){
  expect(1);

  visit('/').then(function(){
    var today_link = find('a.today');
    equal(today_link.text(), 'Today');
  });
});
Now run the tests with
➤ grunt test
BONUS for Free: Adding off-line cache manifest
➤ npm install grunt-manifest -—save-dev
Create Grunt task in tasks/custom-options/manifest.js
module.exports = function(grunt) {
  grunt.loadNpmTasks('grunt-manifest');

  return {
    generate: {
      options: {
        basePath: 'dist',
        network: ['http://*', 'https://*'],
        preferOnline: true,
        verbose: true,
        timestamp: true,
        hash: true,
        master: ['index.html']
      },
      src: [
          'assets/*.min.js',
          'assets/*.min.css'
      ],
      dest: 'dist/manifest.cache'
    }
  };
};
…and change html line in app/index.html to
<html <!-- @if dist=true --> manifest="/manifest.cache"<!-- @endif -->>
We’ll use the manifest file only for distribution builds and disable it for development.
Edit Gruntfile.js and add our ‘manifest’ task to the bottom of the createDistVersion so the end of the task looks like this chunk
grunt.registerTask('createDistVersion', filterAvailable([
...
    'htmlmin:dist', // Removes comments and whitespace
    'manifest'
    ]));
Now kill your development server and run
➤ grunt server:dist
…to start a server with your distribution build. Browse your code, terminate the server and reload the page. Everything should work offline now.
Source of the final product can be found here: github.com/cyner/waterize
Updated 2014-03-17 - Fix typos
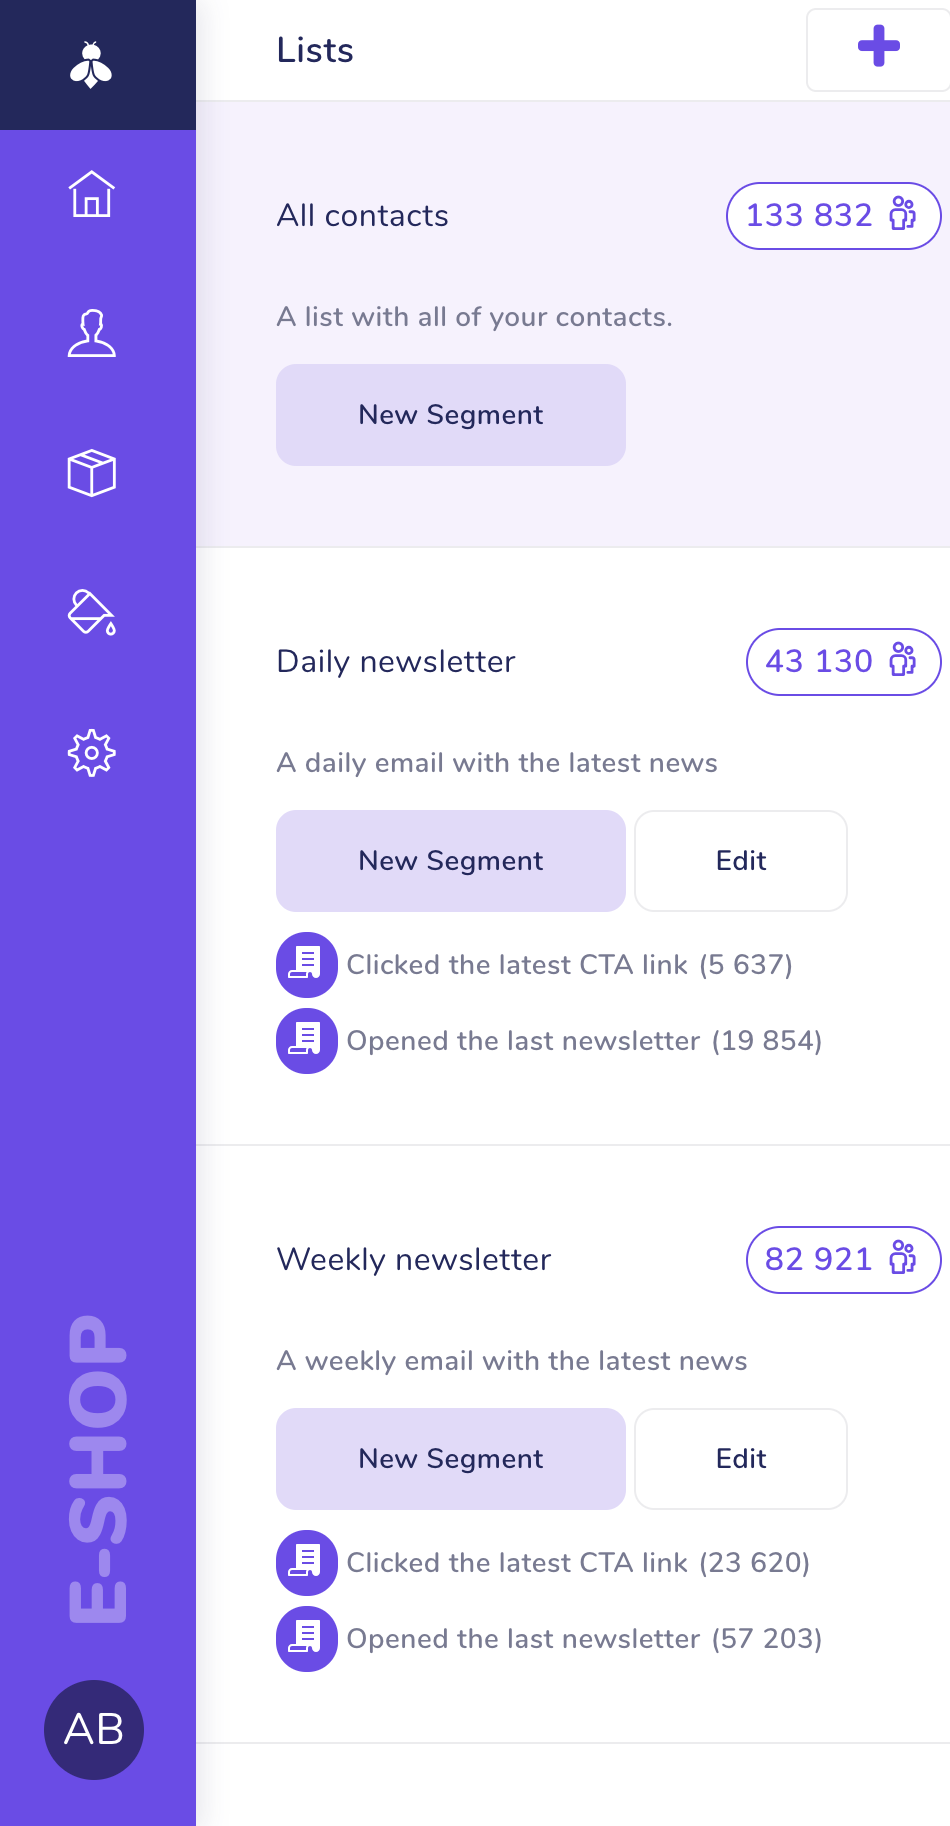
Written by Jan Votava of sensible.io.Do you manage email campaigns for your business?
We're building a tool to help businesses reach out to their customers more easily. It's called SendingBee and it's going to be awesome.

Who we are
This is the blog of sensible.io, a web consultancy company providing expertise in Ruby and Javascript.
Recent articles
- SSH Tunnel - Local and Remote Port Forwarding Explained With Examples
- Supercharge your VIM into IDE with CTags
- Don't just dump code into your models
- Getting started with Ember App Kit
- 4 Tips for Working with Dates in PostgreSQL
- PostgreSQL Sequences and Array Column Types
- Setting up Redis for Production Environment
- PostgreSQL Basics by Example
- Strong Parameters by Example
- Ember Model - Introduction
Tags
- rails (1)
- ruby (3)
- osx (1)
- vim (1)
- ember (3)
- ember-model (1)
- postgresql (3)
- ruby vim ctags (1)
- unix (1)
- redis (1)
- promises (1)